subscribe
Join our member club and receive emails of new arrivals and discounts

Join our member club and receive emails of new arrivals and discounts
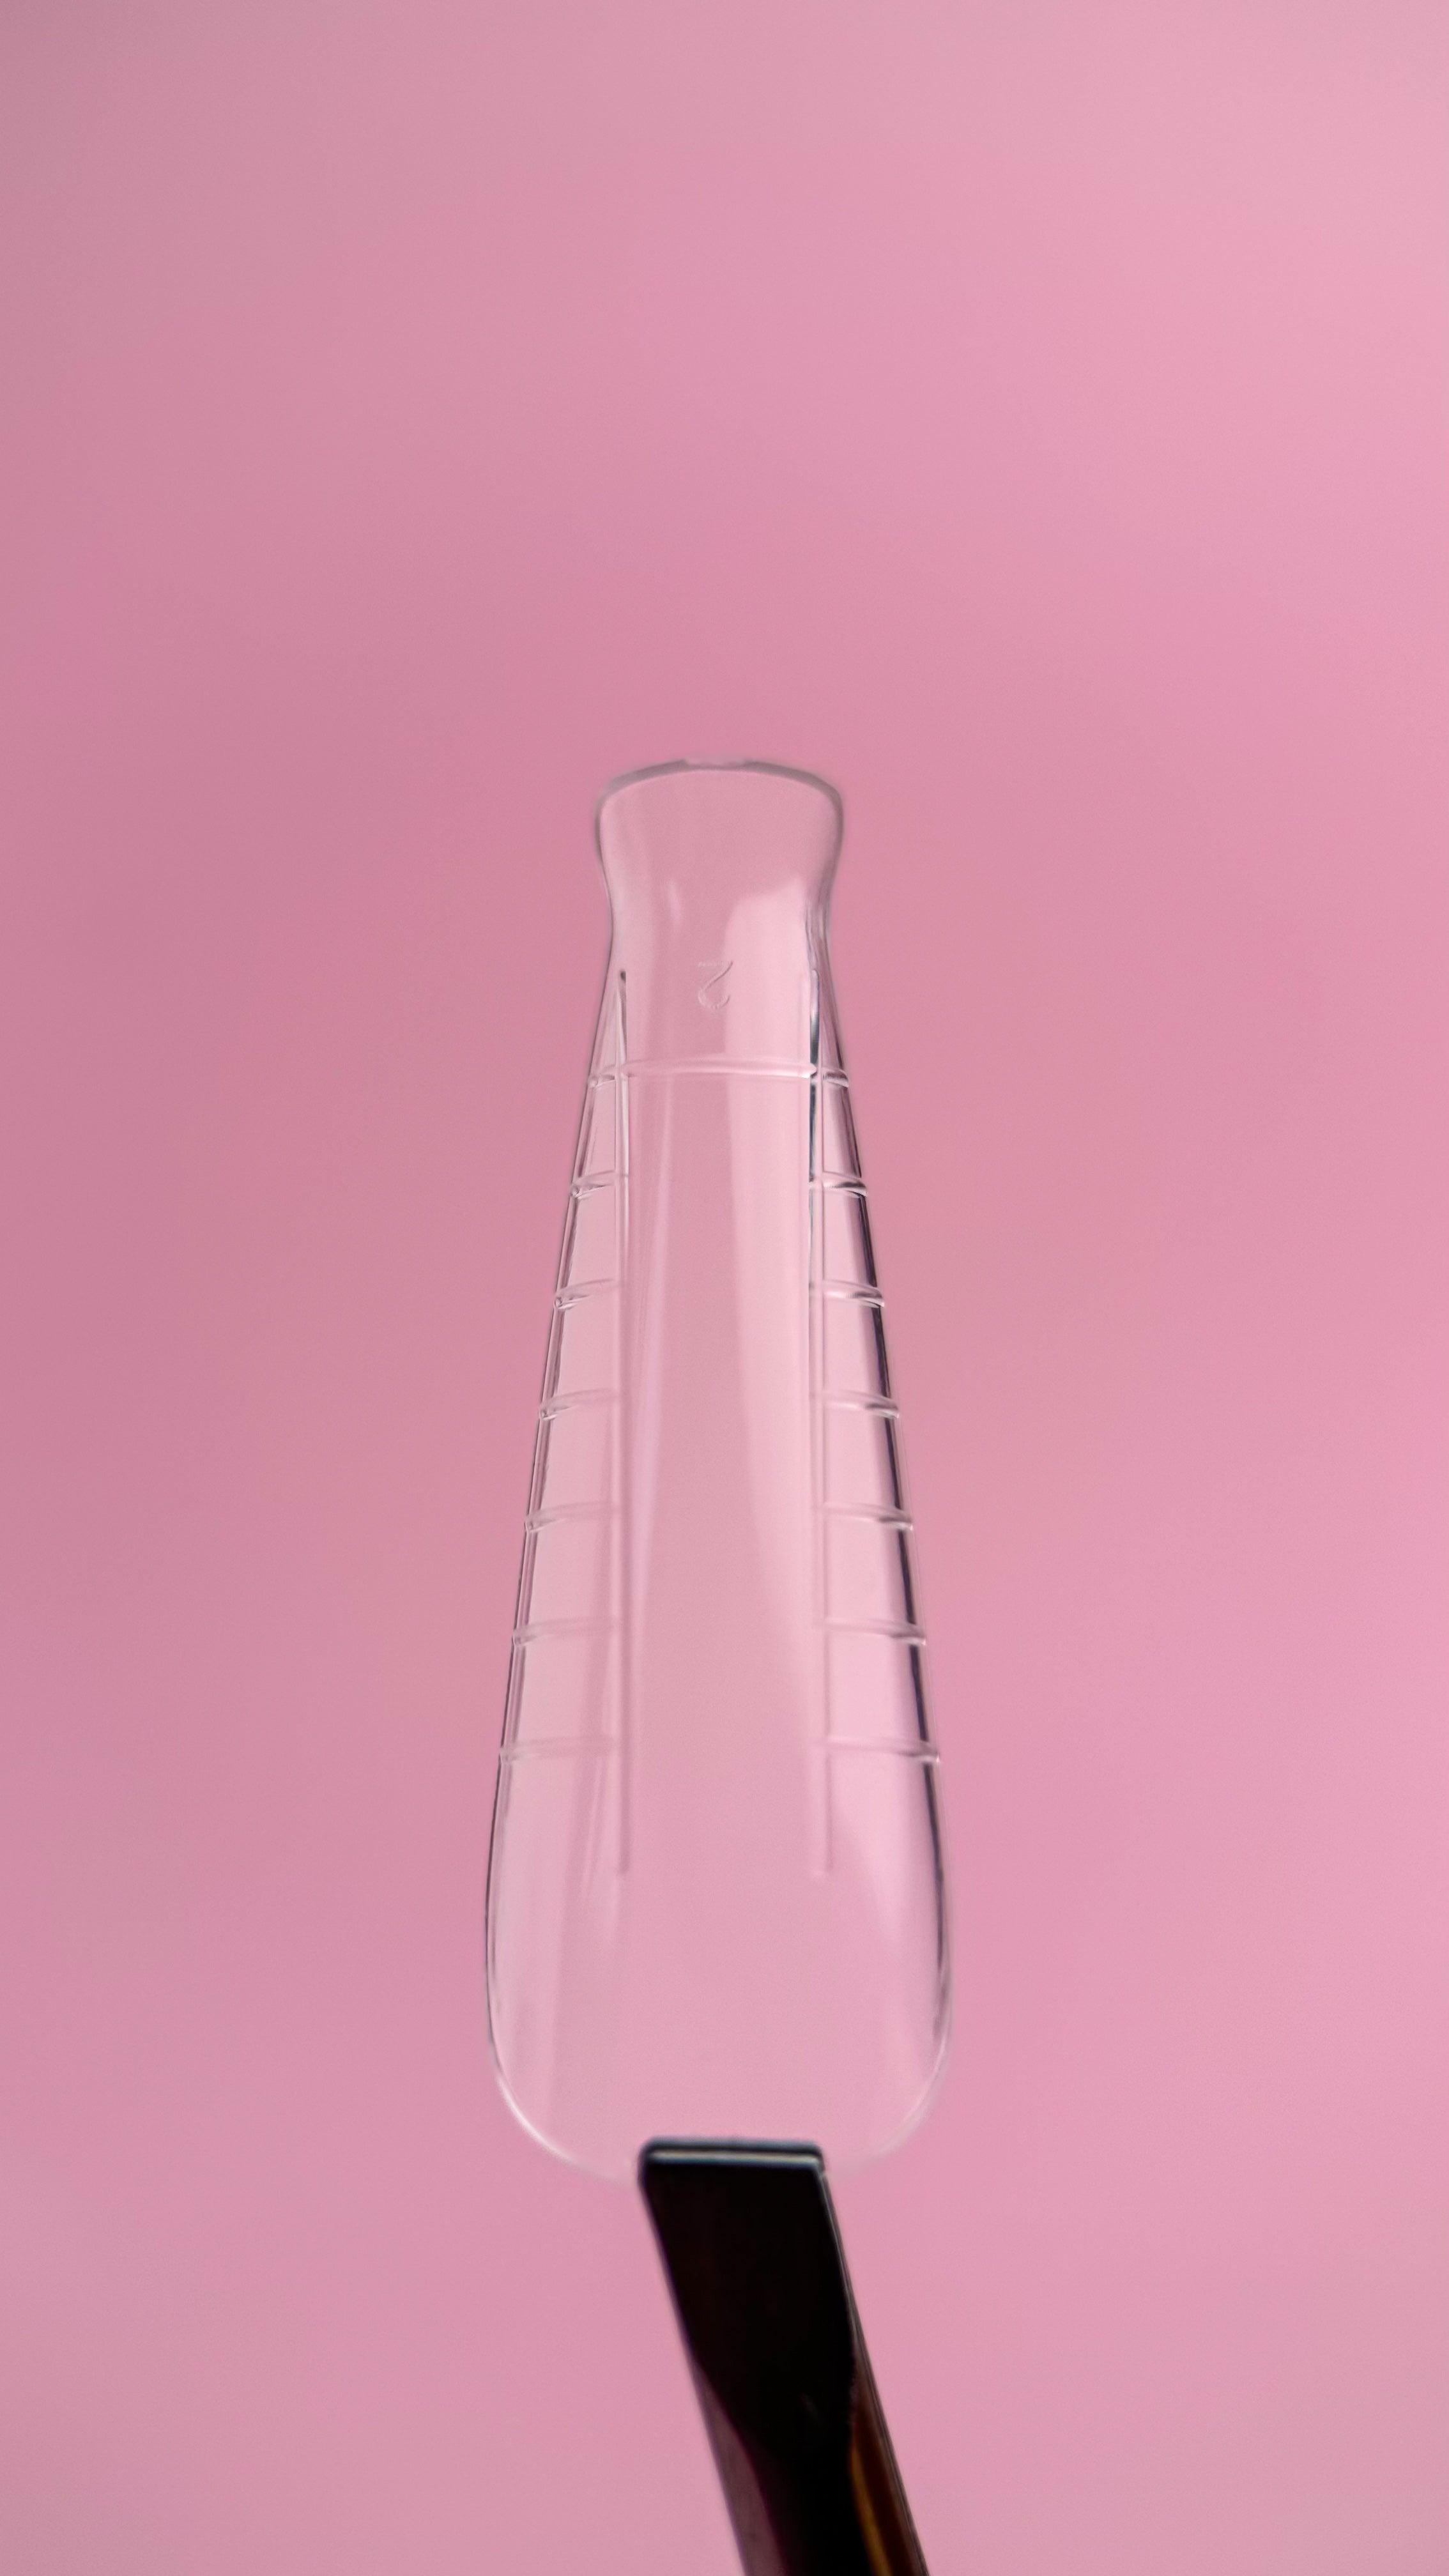
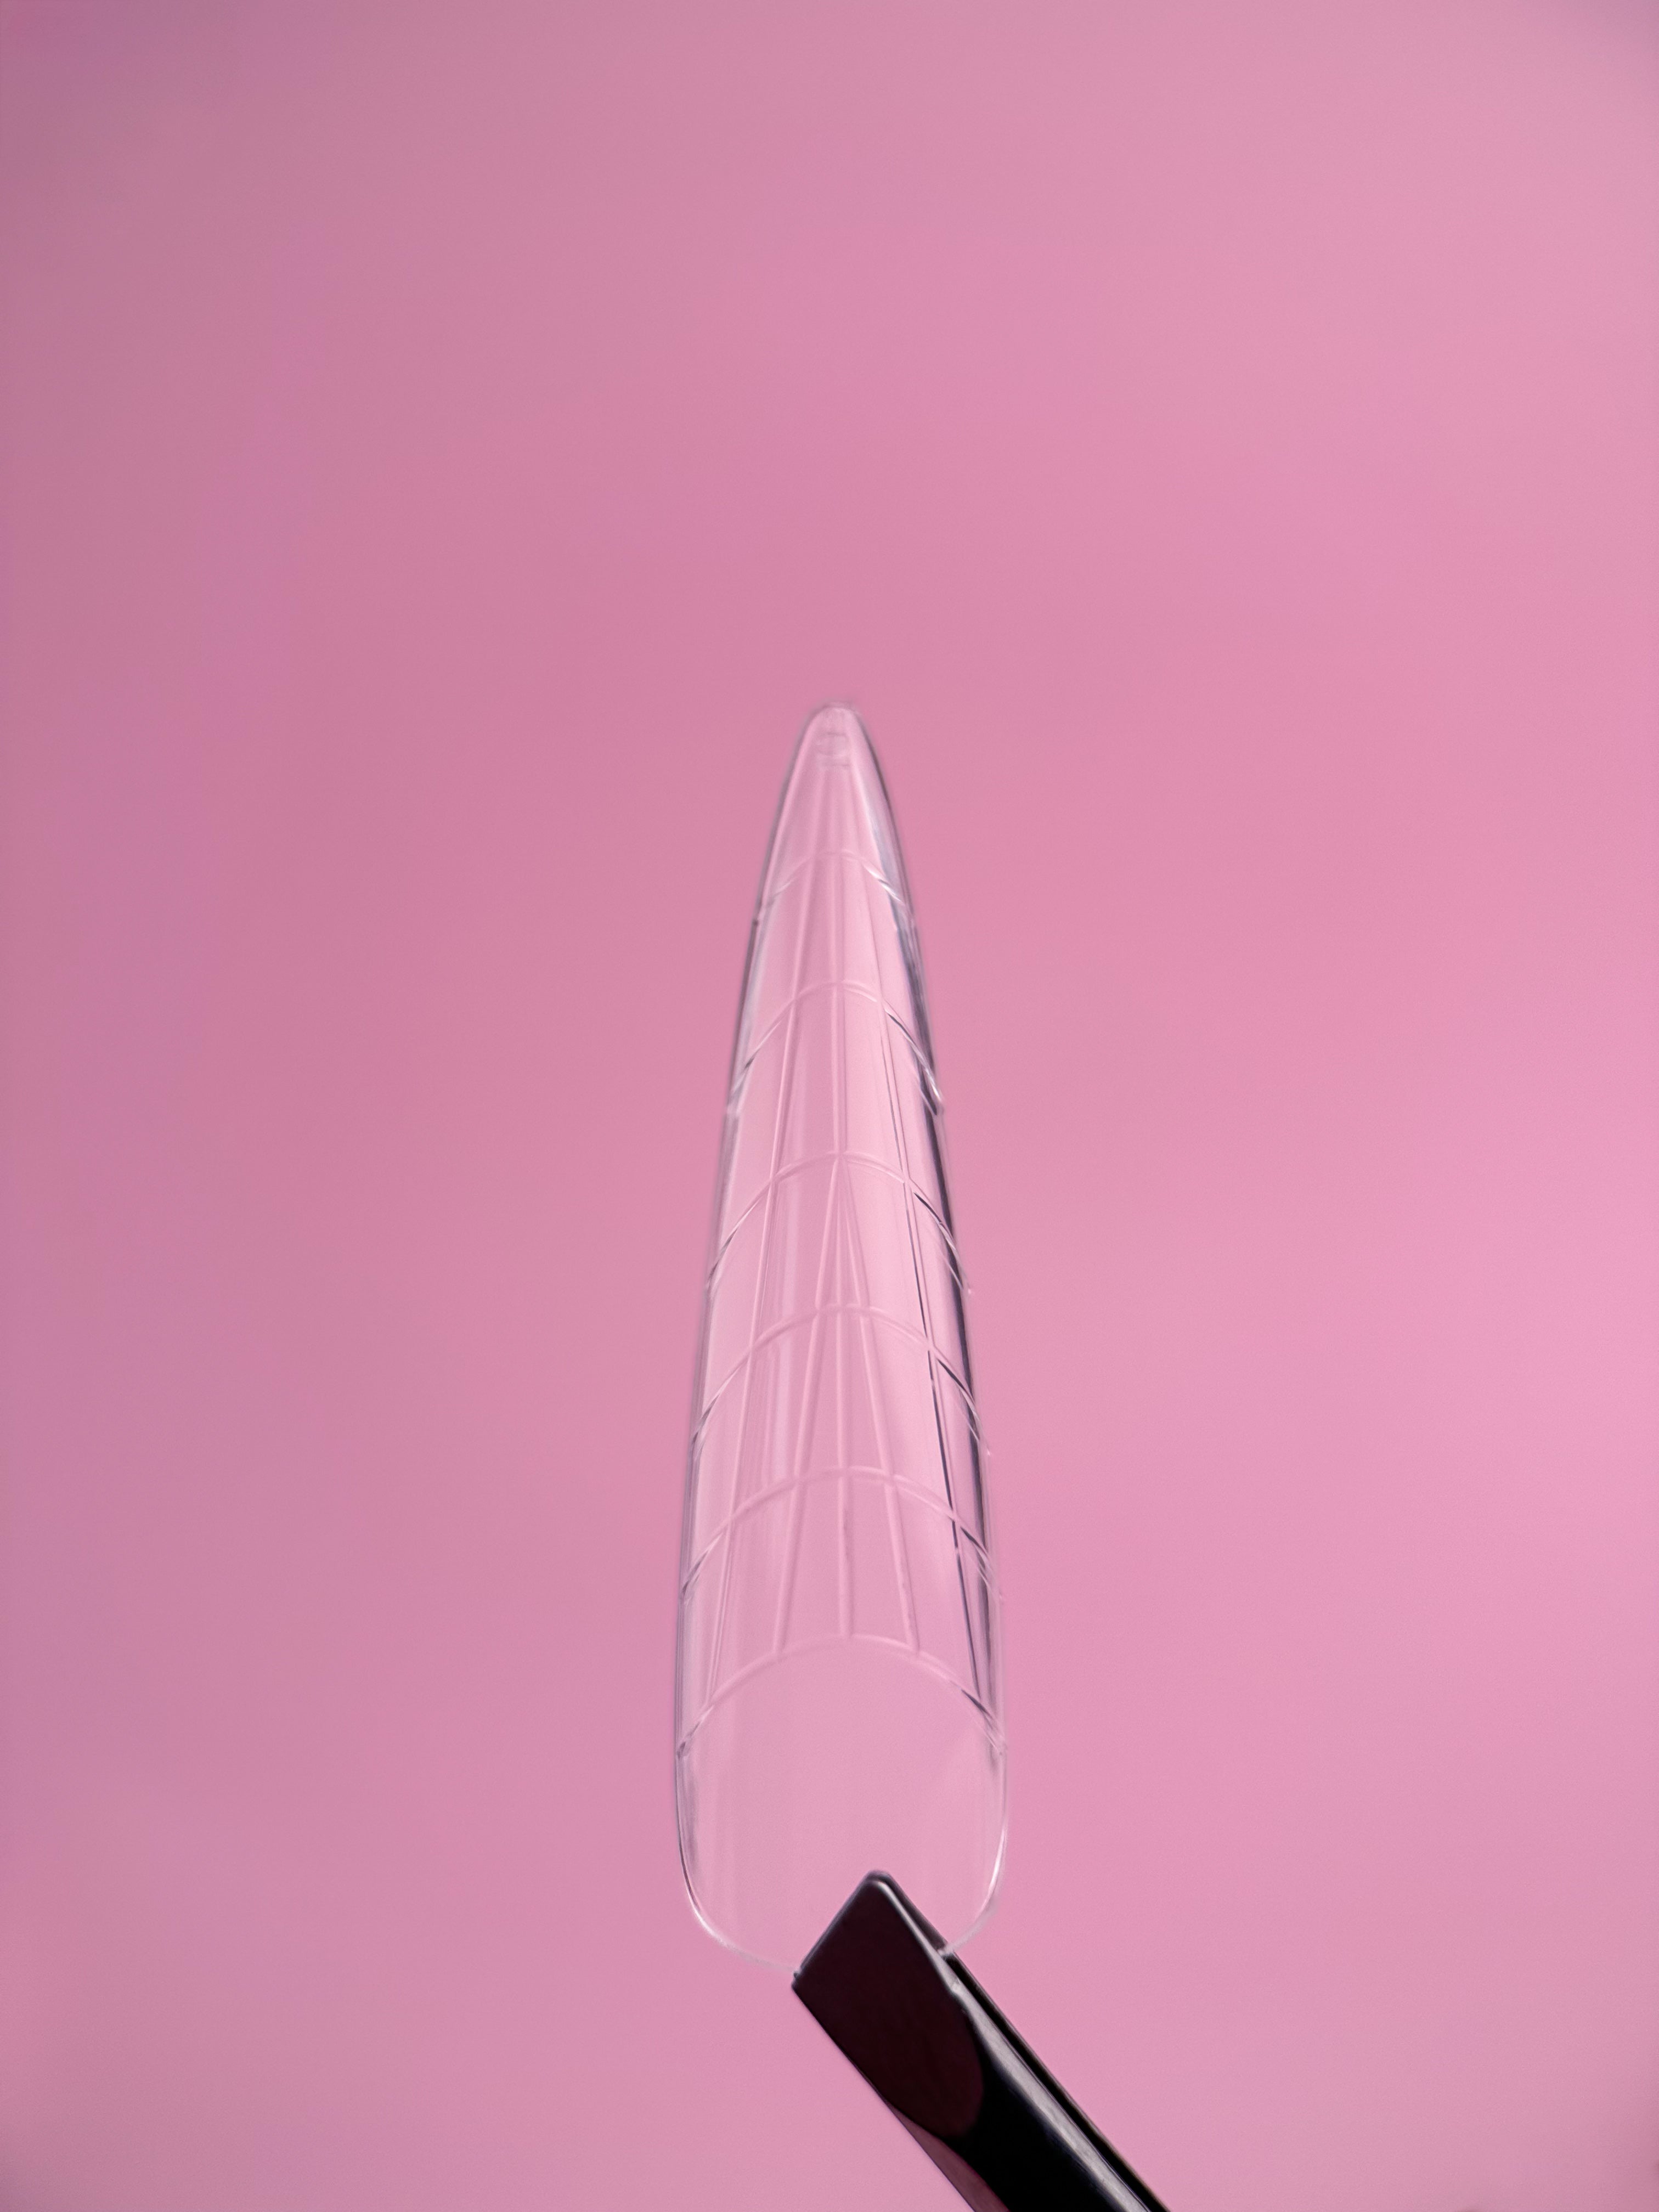
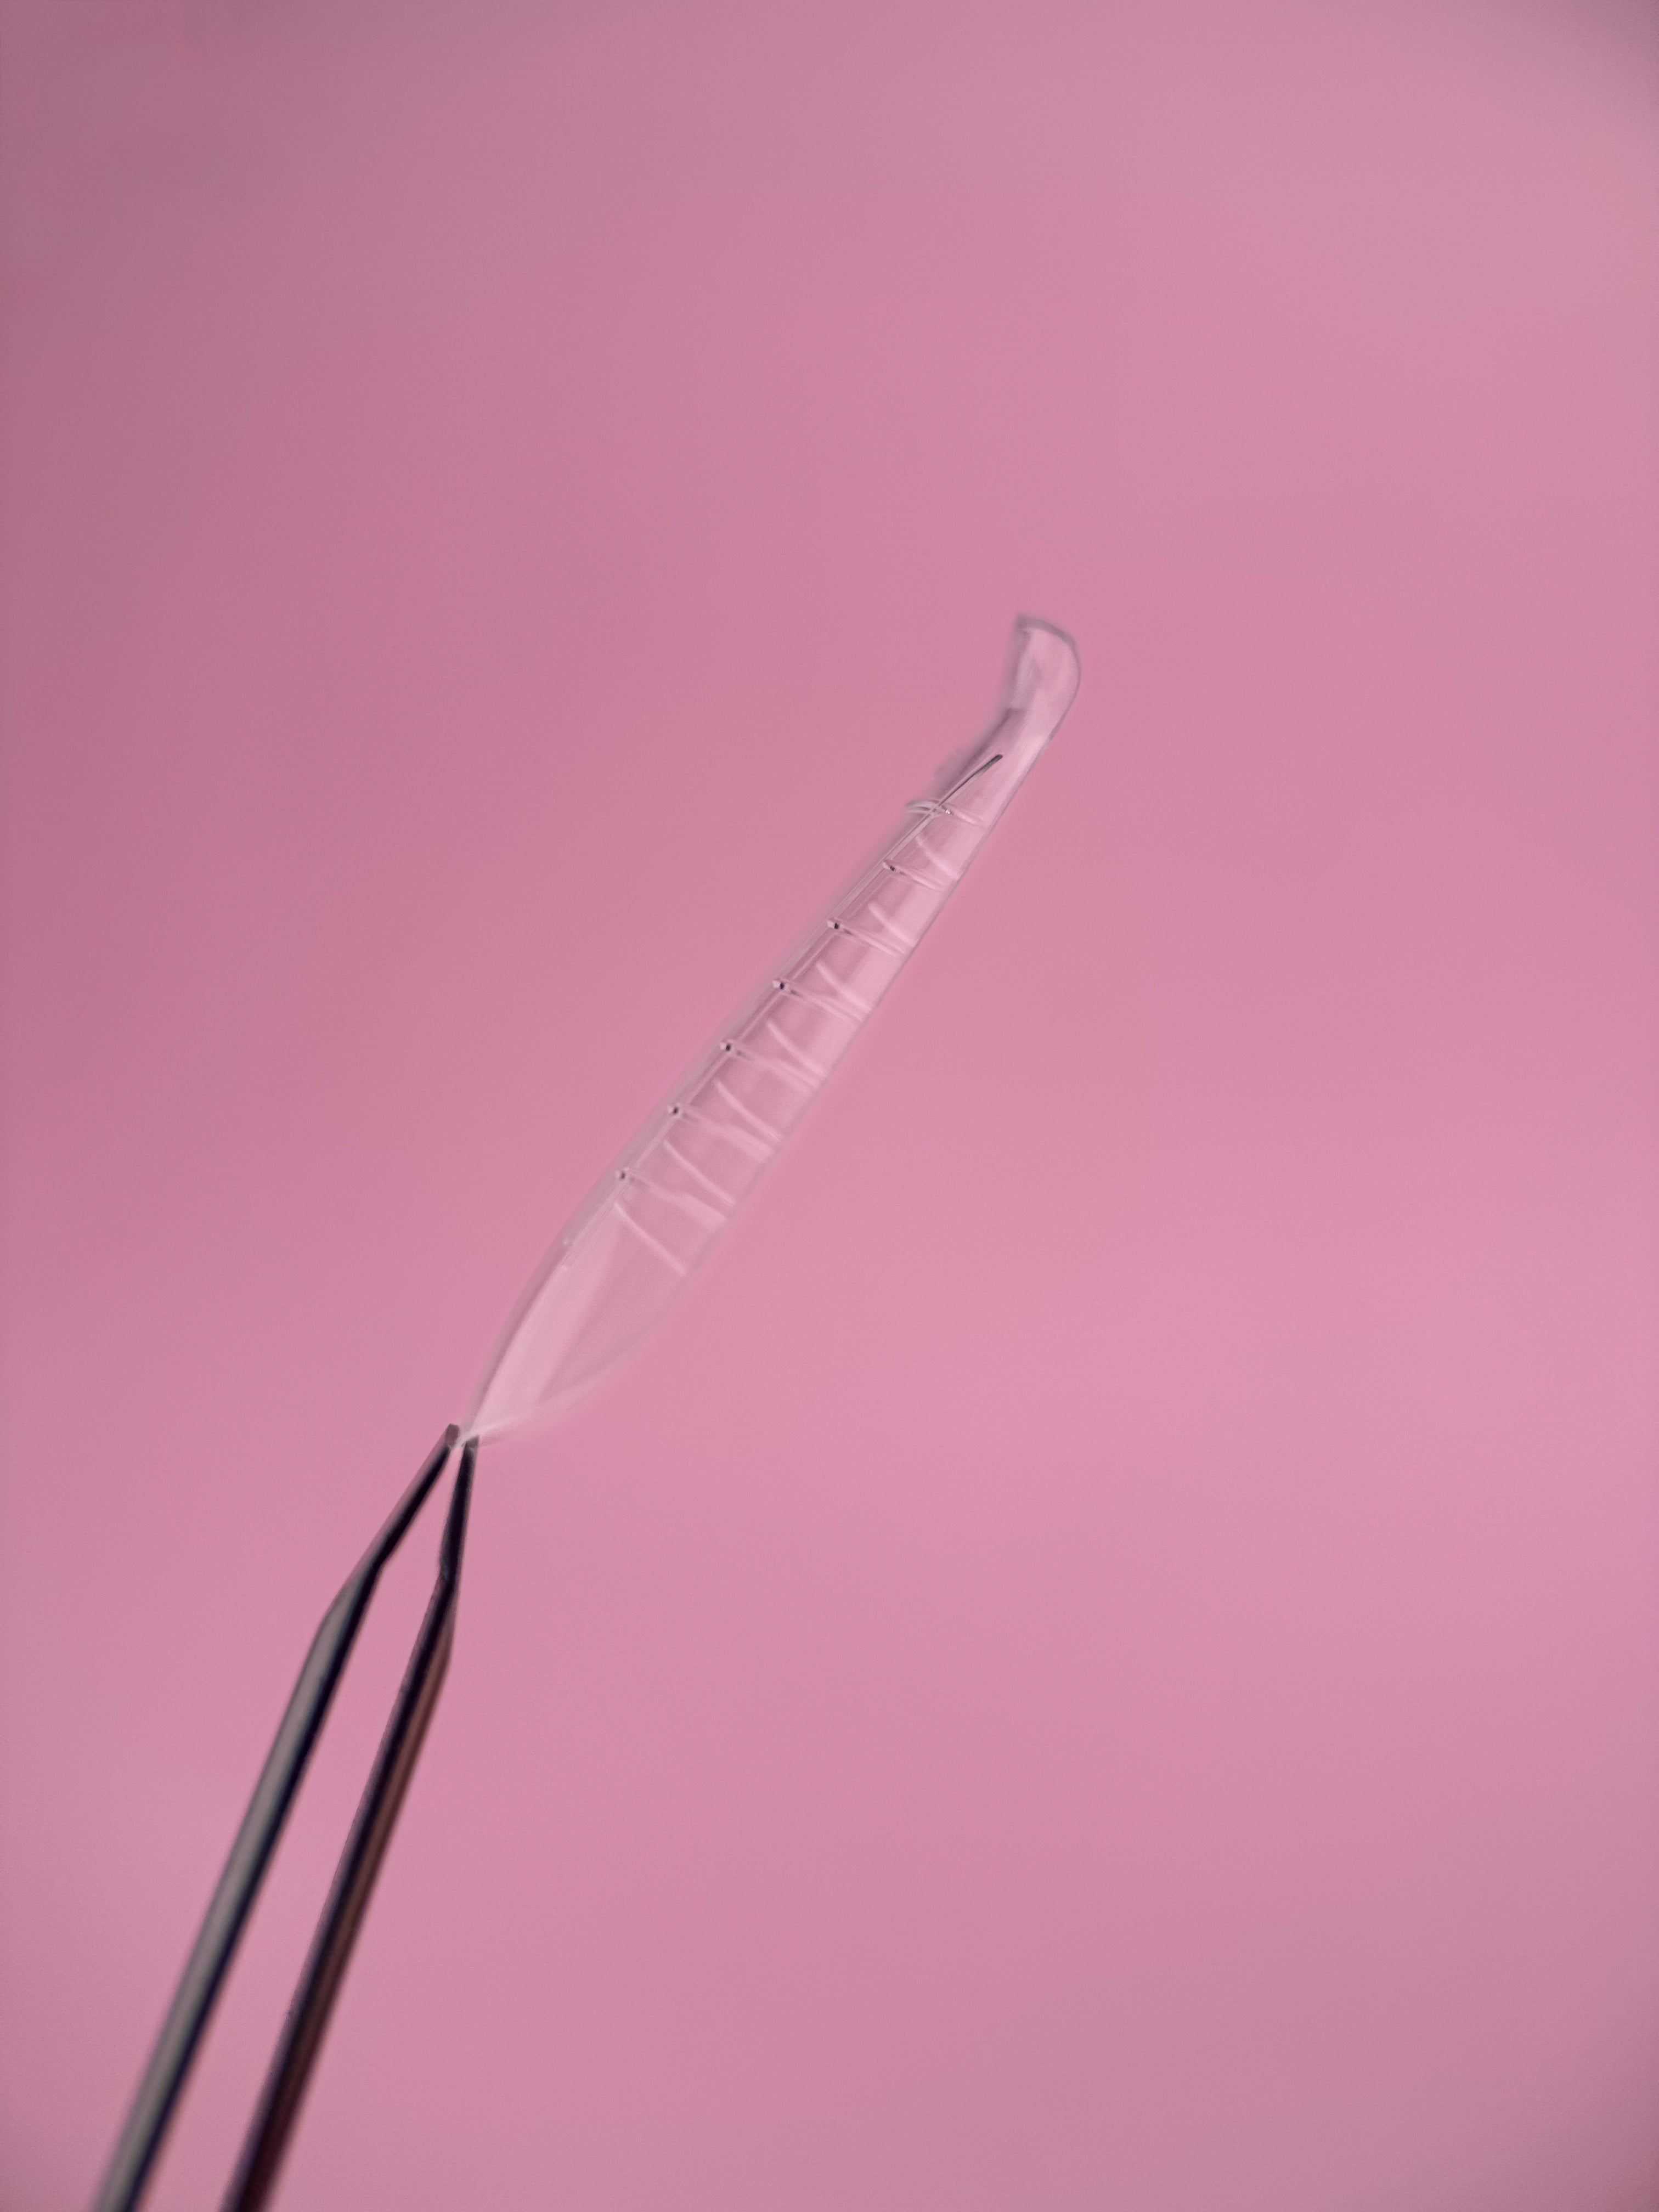
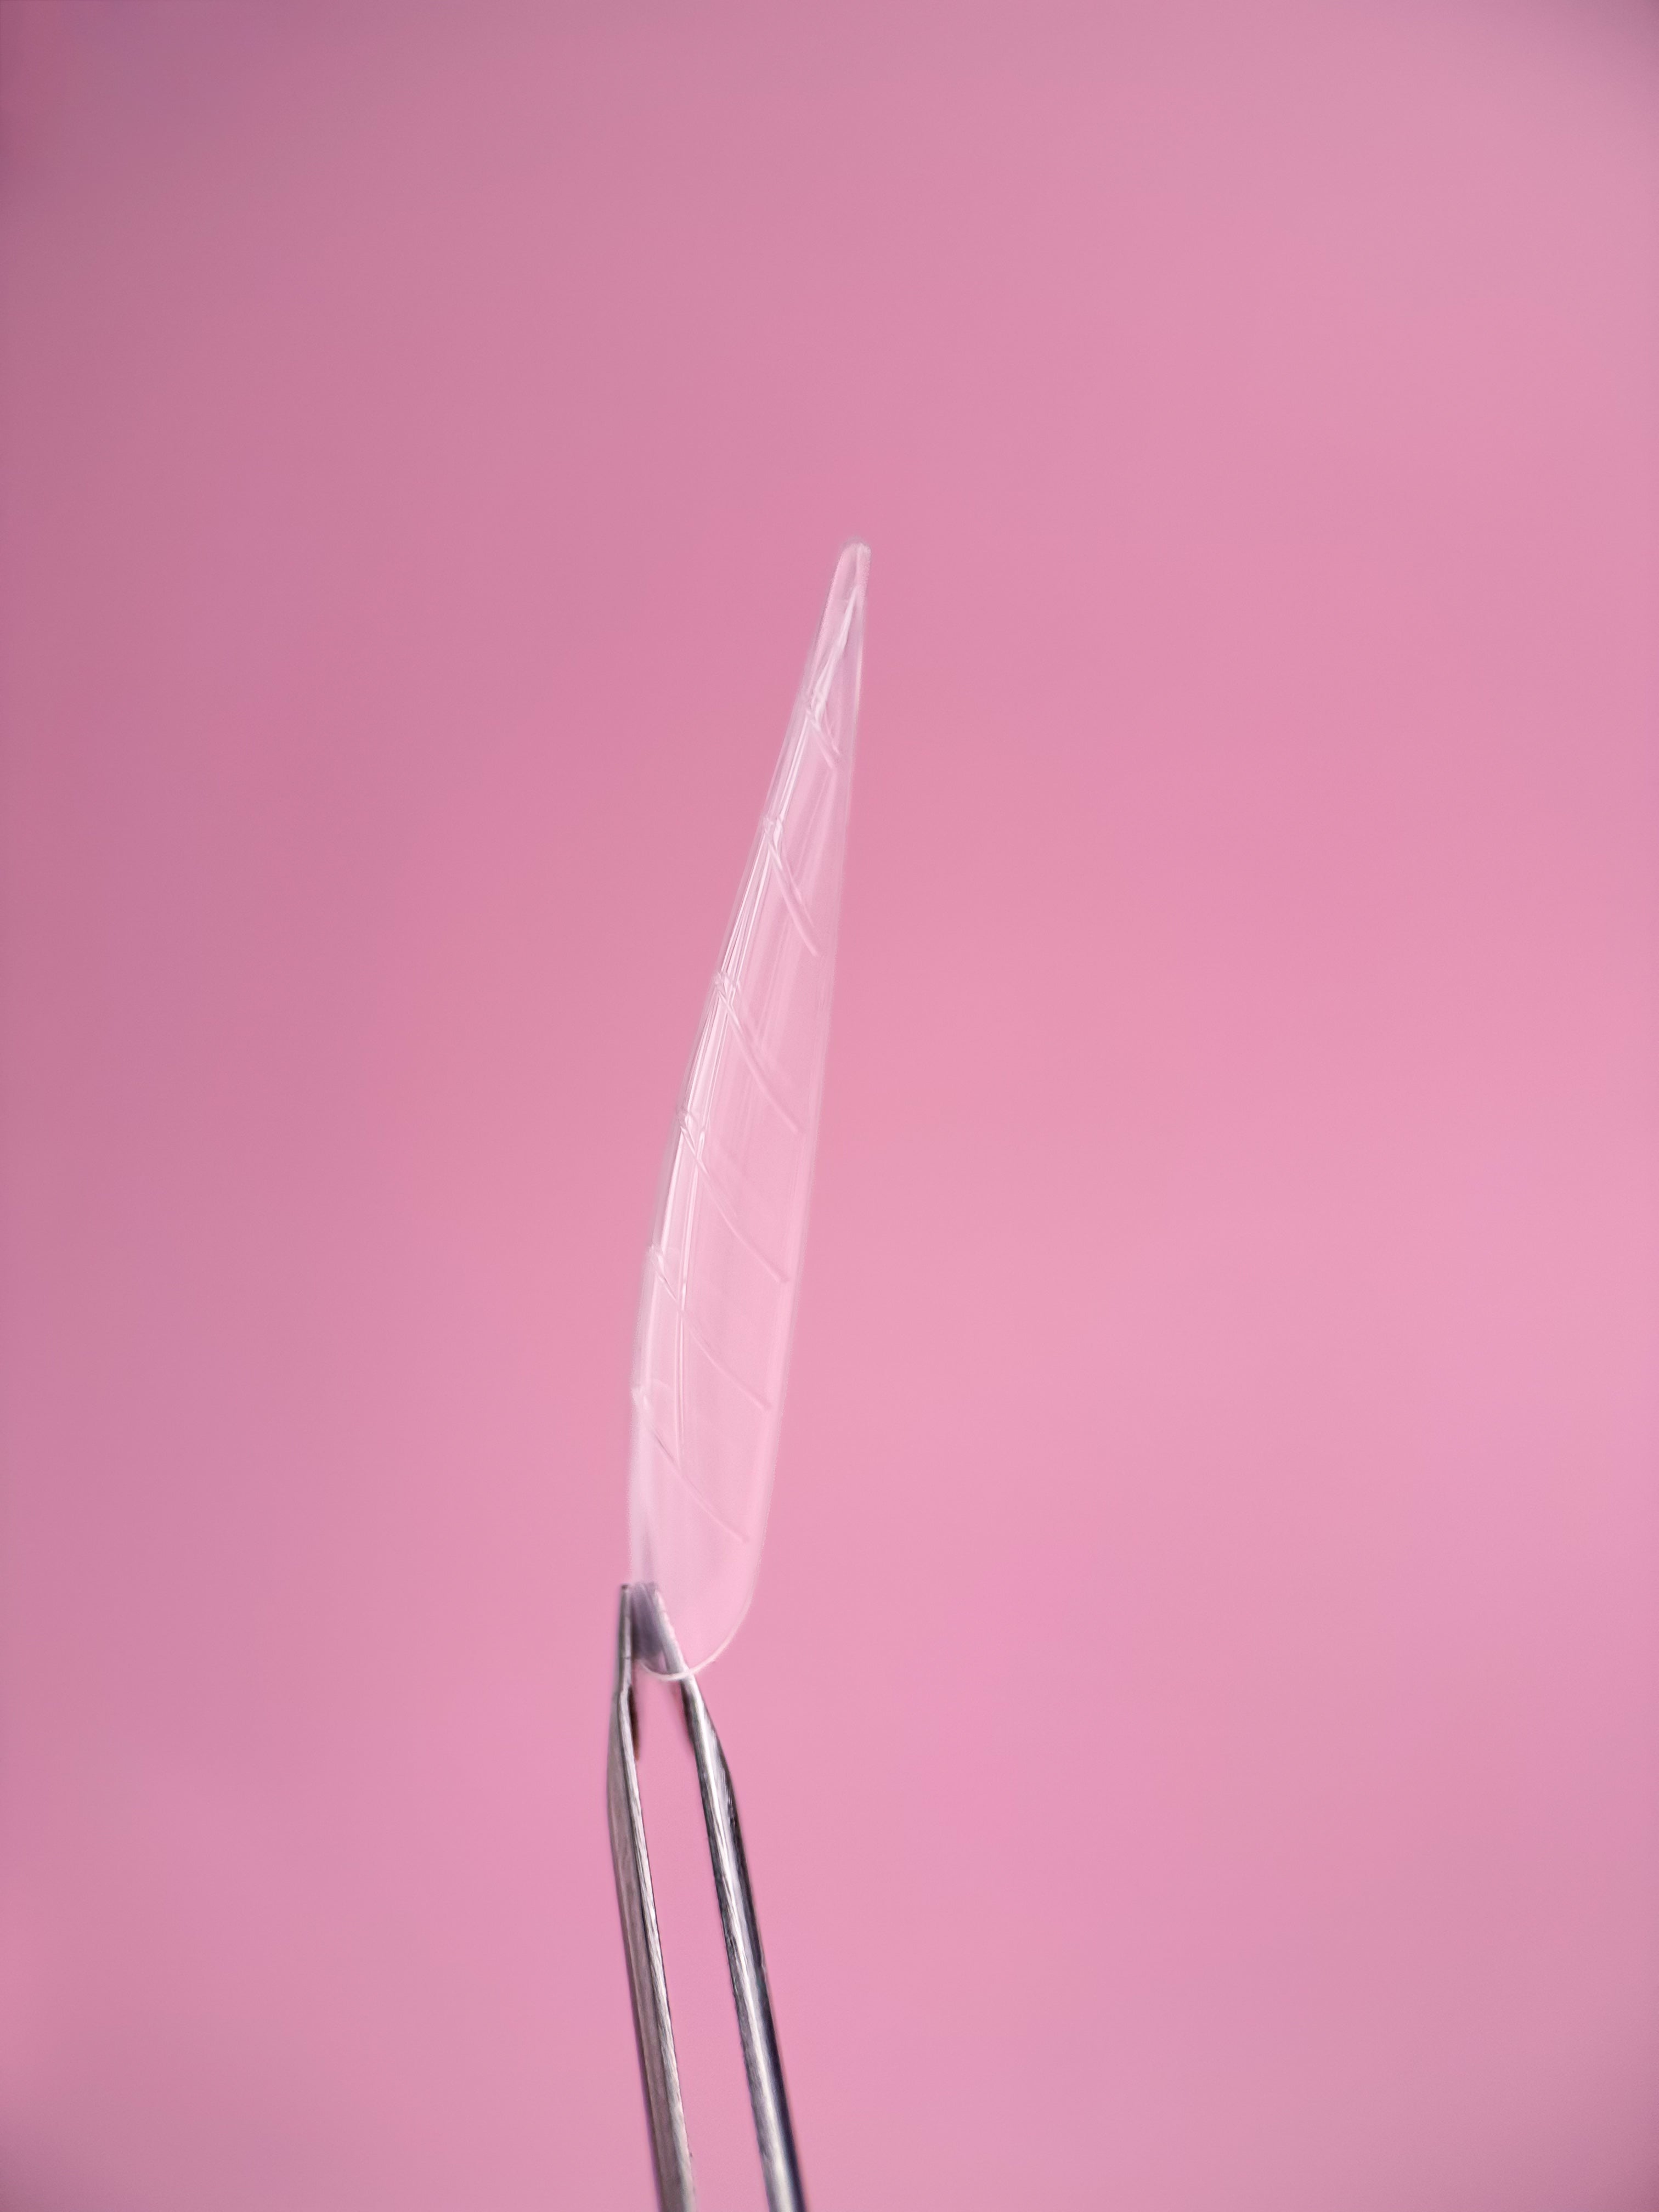
To extend nails using dual forms, follow these steps:
1. Prep Your Nails:
- Clean your nails thoroughly, pushing back the cuticles and removing any oils or old nail polish.
- Buff the surface of your nails lightly to remove the shine.
- Apply a dehydrator and primer to ensure better adhesion.
2. Choose the Right Dual Form Size:
- Select dual forms that fit each nail properly, ensuring they cover the entire nail bed without overlapping the skin.
3. Apply Base Coat:
- Apply a thin layer of base coat to your natural nails and cure under a UV or LED lamp according to the manufacturer's instructions.
4. Prepare the Dual Forms:
- Apply the nail extension product (acrylic, poly gel, or gel) inside the dual form. Use a spatula or brush to spread it evenly, focusing on the area that will cover your natural nail.
5. Apply the Dual Form to Your Nail:
- Press the dual form onto your nail, ensuring it is aligned correctly and covers the entire nail bed.
- Gently press down to remove any air bubbles and to ensure the product spreads evenly.
6. Cure the Nail:
- Cure the nail under a UV or LED lamp. Follow the curing times specified by the product.
7. Remove the Dual Form:
- Once cured, gently wiggle the dual form to remove it from the nail.
- The extended nail should be solid and in the shape of the dual form.
8. Shape and Finish:
- File and shape the extended nail to your desired length and shape.
- Buff the surface to smooth out any imperfections.
9. Apply Top Coat:
- Apply a top coat to seal and protect the nail extension.
- Cure under a UV or LED lamp.
10. Clean Up:
- Clean the nails with a cleanser or alcohol to remove any tacky residue from the top coat.
Additional Tips
- Ensure that each layer is cured properly to prevent lifting or breaking.
- Be gentle when pressing the dual form onto your nail to avoid product spillage.
- Practice makes perfect; it may take a few tries to get the technique just right.

